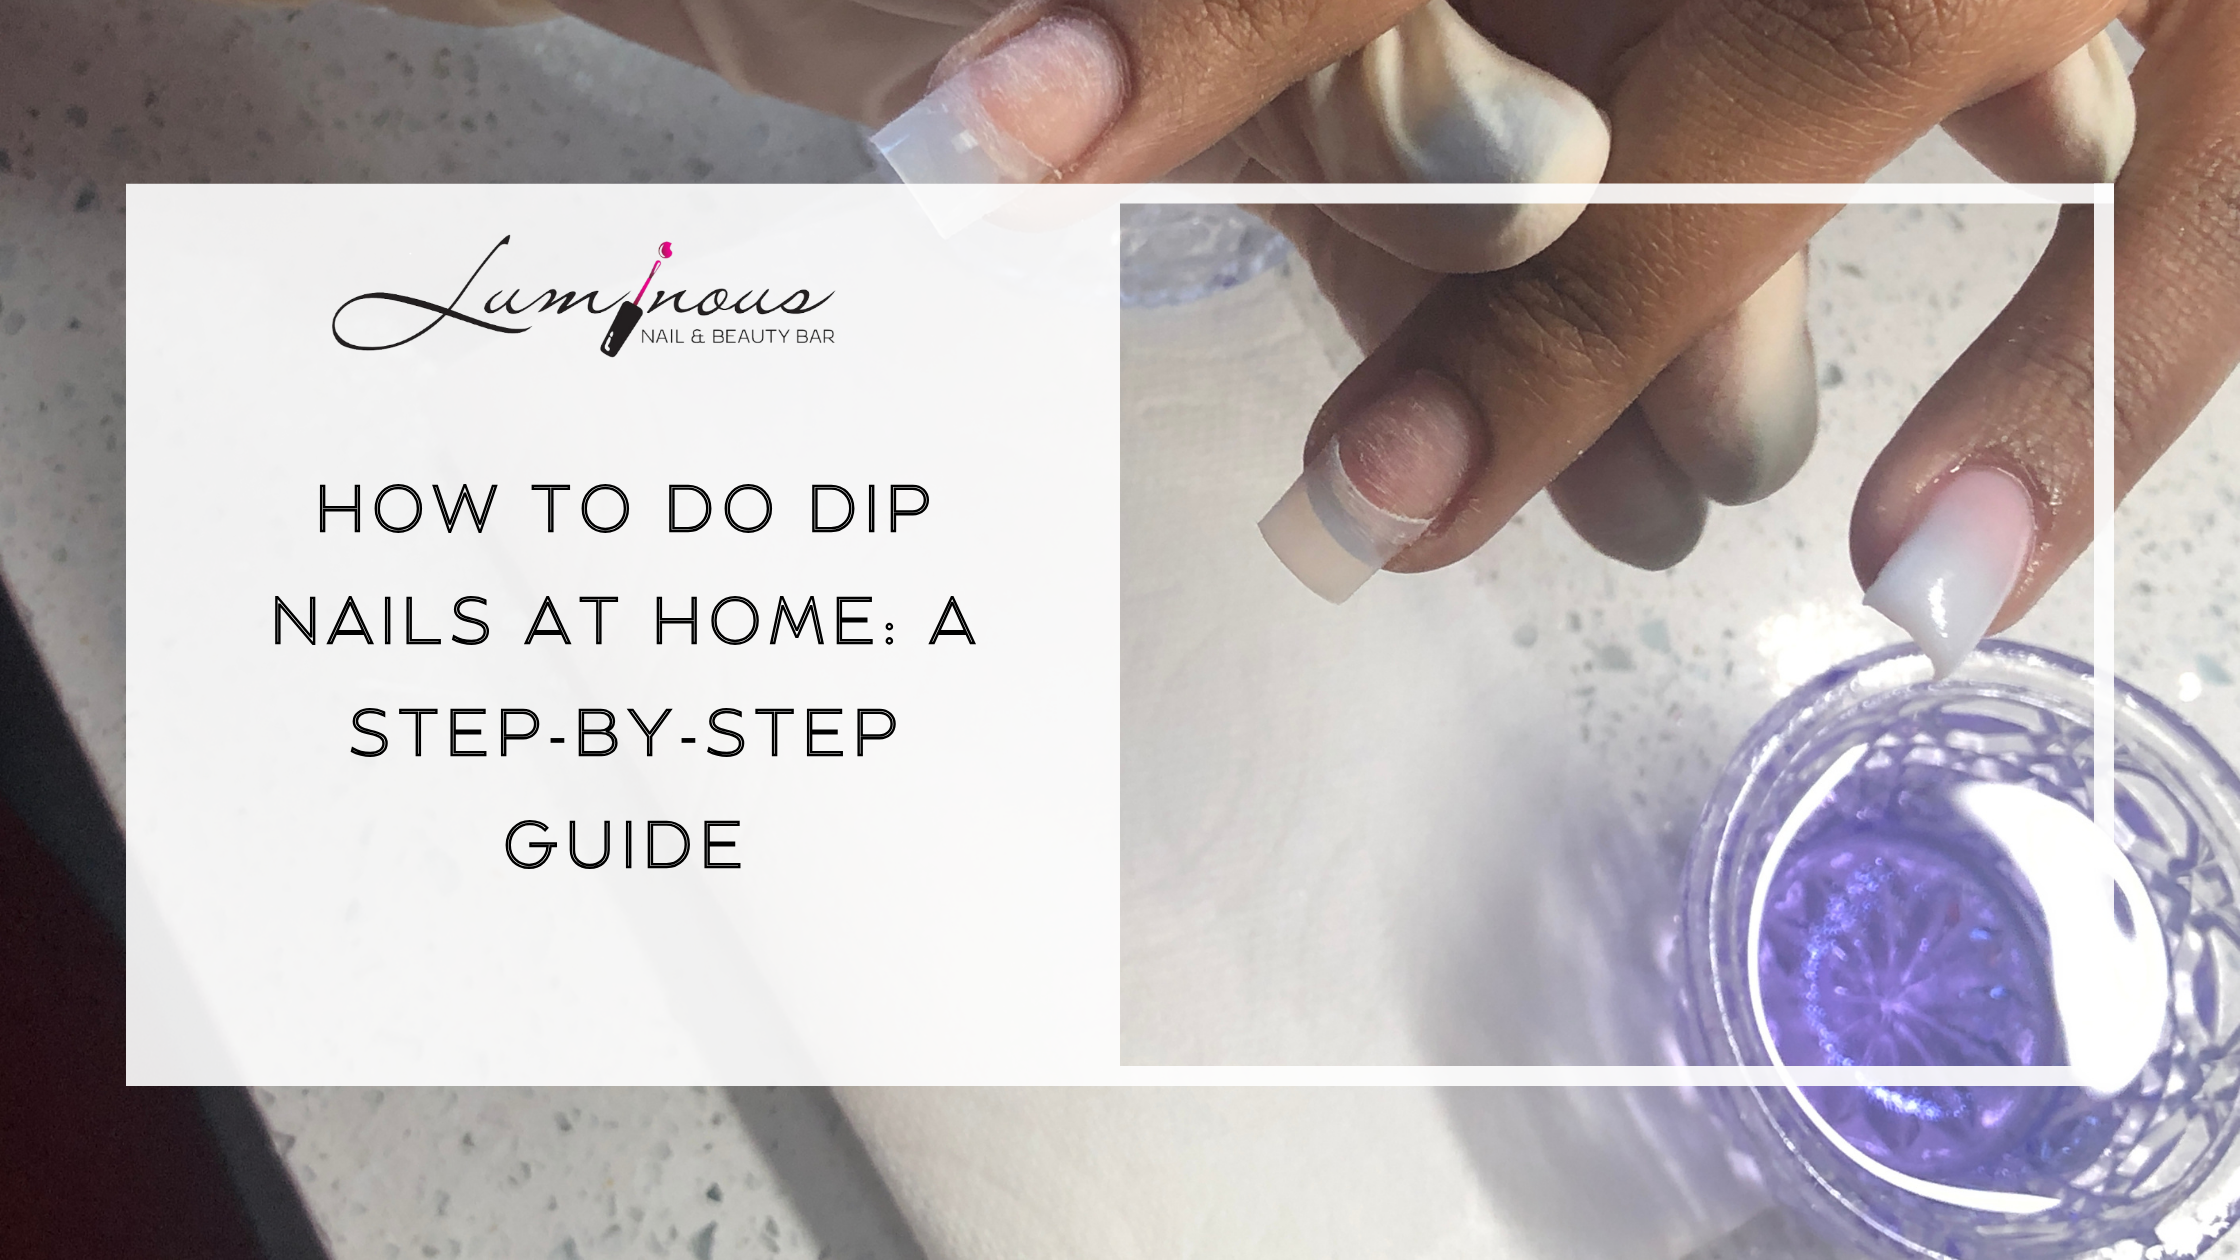
Dip nails have taken the nail world by storm, offering a durable and long-lasting alternative to gel or acrylics. If you’re looking to achieve salon-quality nails from the comfort of your home, you’re in the right place. In this guide, we’ll show you how to do dip nails at home like a pro – saving you time and money while keeping your nails looking flawless.
Why Learn How to Do Dip Nails at Home?
Learning how to do dip nails at home gives you flexibility and convenience. You can touch up your nails whenever it suits your schedule, and you get to personalize your color choices and designs.
Many clients at Luminous Nail Bar love the dip method because it’s less harsh on nails than acrylics and lasts up to four weeks with proper care. Plus, it doesn’t require UV light for curing—making it a healthier alternative for many.
What You Need to Do Dip Nails at Home
Before starting the dip nail process, make sure you have these essential tools:
- Nail file and buffer
- Cuticle pusher
- Dip nail kit (base coat, activator, top coat, and dip powder)
- Lint-free wipes
- Alcohol or nail cleanser
- Optional: nail primer for better adhesion
At Luminous Nail Bar, we recommend using high-quality products for better results and longer-lasting wear.
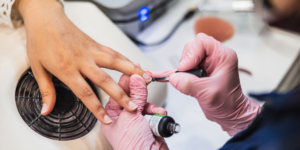
Step 1: Prep Your Nails
Nail prep is the foundation of a great dip manicure.
- Begin with clean, dry nails.
- Gently push back your cuticles using a cuticle pusher.
- File your nails into your desired shape.
- Buff the nail surface lightly to eliminate shine.
- Cleanse nails with alcohol to eliminate any residue or oil.
Step 2: Apply the Base Coat and Dip Powder
- Apply a thin base coat to one nail, avoiding the cuticle.
- Dip the nail into the dip powder at a 45-degree angle.
- Tap off the excess powder.
- Repeat on each nail.
- Once set, use a soft brush to remove any extra powder.
Apply a second base coat and dip layer to each nail for added durability and color payoff.
Step 3: Apply Activator
- Generously apply activator to harden the powder layers.
- Let it dry for 1-2 minutes.
- If necessary, gently buff and shape for a smoother finish.
The activator is crucial to setting and sealing the powder effectively.
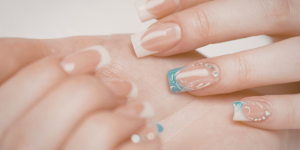
Step 4: Finish with Top Coat
- Apply a layer of topcoat for shine and protection.
- Allow it to dry for at least 2 minutes.
- Apply a second layer if desired for added gloss.
Tips for Perfecting Dip Nails at Home
Improve your results with these expert tips:
- Use thin, even base coat layers.
- Avoid contact with the cuticle to prevent lifting.
- Seal the edges of your nails with each coat.
- Consider using a nail primer for better adhesion.
- Practice on one hand first to build confidence.
How to Remove Dip Nails at Home
Safely removing dip nails prevents damage.
- File the topcoat layer to break the seal.
- Soak a cotton ball in acetone and place it on your nail.
- Secure with foil or a soak-off clip.
- Wait 15-20 minutes.
- Gently push off the softened dip using a cuticle tool.
Avoid peeling or forcing the product off to protect your natural nails.
Conclusion
Learning how to do dip nails at home empowers you to keep your nails looking polished and fresh without visiting the salon each time. With the right materials and careful technique, you can enjoy professional-looking results from your own space. For expert care, premium products, and flawless application, trust the nail professionals at Luminous Nail & Beauty Bar—your destination for stunning and healthy nails.